
Astrophotography is a fascinating world, finding yourself under a magnificent starry sky is an experience that everyone likes, it is always fascinating for me to photograph the night sky and enjoy stars photography
Years ago photographing the stars at night was something that perhaps few people would have the lucky to do, but today with modern DSRL and technologies, astrophotography has become more easy
In this article, I am going to show how to plan and shot the milky way, what you have to know to do it, what you need for and how can do it!
WHEN TO GO
Milky way is clearly visible during the summer months, before you go always search on internet that milky way will be visible in your area
WEATHER
Essential condition for photographing the milky way is a cloudless sky, more clouds will make it more difficult to see the stars, so always check the weather before you go to shoot
MOON PHASE
Another milky way enemy is the moon, always consider the moon phases of the rise and the sunset to avoid having a bright ball to ruin the show in the sky. The best time to go is during the new moon or with low moon visibility rates. To check the best moment to go you can check on the web but there are many apps to do that, I use PhotoPhills

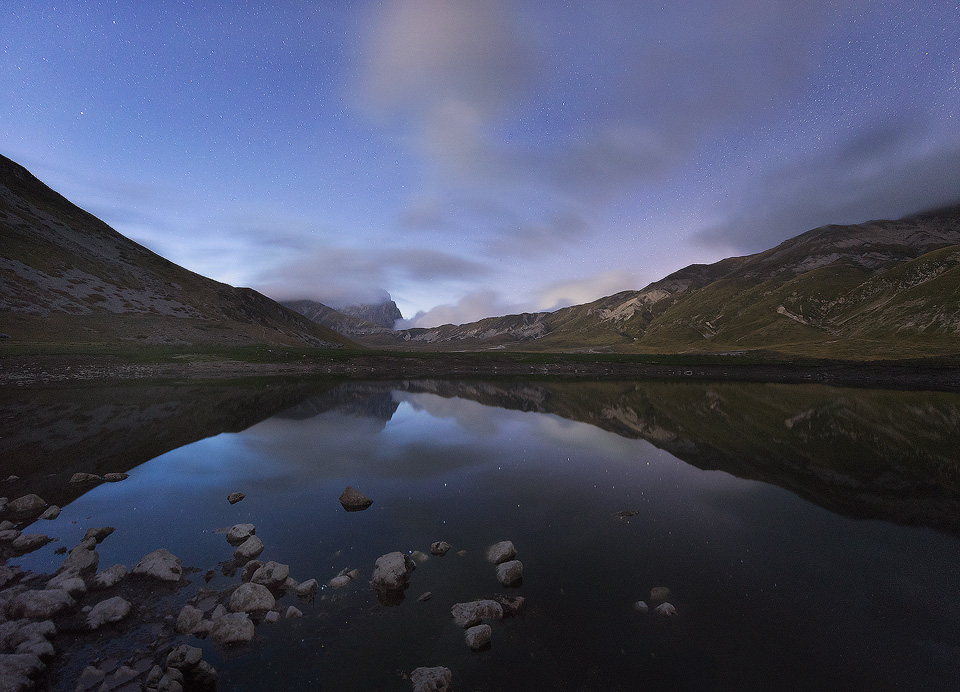
WHERE TO FIND A DARK SKY
In astrophotography is very important to find a good location to photograph a starry sky with some composition element of course to composite a landscape. You have to get away from the big cities and light sources as much as possible, which is the main element of disturb for good visibility of the milky way. Fortunately it’s easy to find apps and tools to do this. Before go give a look on light pollution map it will to help to find good locations or confirm that the place you chose is good to shoot the night sky
COMPOSING THE SHOT
the best thing would be going to the dark location before night, with sunlight you can better understand the location and think about how to take the picture once night comes. There are many apps that allows you to find the milky way once darks begin. Some of this are Google Earth, Stellarium, Photopills, Google Sky Map and Sky View. If instead you go to the place when it is already dark, if you have found a good location with dark sky you can see it with a naked eye

GEAR YOU NEED:
A Good Camera
A good camera that is capable of working with high ISO is an indispensable requirement to capture the milky way. As nikonist I know the fabulous performance of the D810A, but there are many other here great mirror-less options available these days, even cheaper, solutions on the market that guarantee excellent low light performances
Tripod
It is not possible to do a long exposure without a tripod, so this is an indispensable requirement for photographing the milky way. For a landscape photographer investing on the good and sturdy stand is very important
Lens
To capture the milky way you need to have a wide angle lens, the reason for this is that the milky way is very large in the sky and if you want to have a good frame need to include a composite element below, the wider will be your lens more is better. Another important element is the aperture value, a good aperture lens will capture more light this allows to play with ISO and get great results, I personally use the nikon 14-24 f2.8 that I use in most of my landscapes
Remote Shutter
I’t highly recommended to have one with you. During a milky way/night shot you, you may need to shot for 25-40 seconds exposures. Normally you can do it with self timer but over 30 sec camera switch to bulb mode, to avoid staying the whole time with your finger pressed on the button with an almost always moving result a remote shutter will not let you shoot without interacting with the camera keys, risking having a blurred picture. Also, if you like to shot startrails is a key requirement
CAMERA SETTINGS:
Focus
During the night, auto focusing in the dark is very difficult , so it is necessary to use the manual focus (which I generally recommend for every landscape photo)
You can focus manually in the dark with great results adjusting the lens, setting it to the infinite symbol and then moving it slightly to the right, shot a trial shoot and zoom on it, you will be able to see if it’s all in focus correctly
Shutter Speed
Talking about exposure time may be lower or higher depending on the lens you use or the ISO that you set. In most cases, good results are obtained with 25-30 seconds, but many photographers rely on the 500/600 rule that displays exposure times of the the milky way before stars that make it passes from point to trails (you can find the app for this rule the name is dark skies). I personally think it useful but with good DSL with high ISO sensitivity you can quietly use values much lower than those that are reported in these two rules.
Aperture
For this type of photography, the camera’s aperture value must be the lowest f/value added. This will allow the camera to receive as much light as possible without raising ISO too much, more this value of your lens is as low and cleaner will be the final result
Iso
This is a decisive value and linked to the previous point. Usually I get best results in an ISO range ranging from 3200 to 6400 before noise starts destroying the image. With particularly bright lenses you can keep this value low gaining photo cleanliness, so it is to balance the shutter and ISO aperture value to find the best compromise
I’ve talked about the composition before, always try to photograph the milky way below some compositional element to have a good overall landscape.
CONCLUSIONS
Once photographed, the post-processing stage is what allows you enhance the visibility of the milky way. In my opinion, this kind of photo requires initial work on Camera Raw before starting to work with Photoshop so you need to take it in this format to get the best results
How to process the milky way depends on your personal taste, if you prefer something more natural or something that increases more colors and details.
This might be the subject of my next tutorial, let me know what you think in the comments!
I hope you enjoy and you find this tutorial usefull, I’m always happy to ear it from you!

